
How to Upsell and Cross Sell On WooCommerce
The best marketing strategy is to sell new products to the customers who have already purchased from you because he is already aware about your brand and has a trust relationship with you.
Acquiring new customers is very costly and time consuming affair so it is better to get the repeat sales from existing customers.
There are two very successful strategy to apply this concept
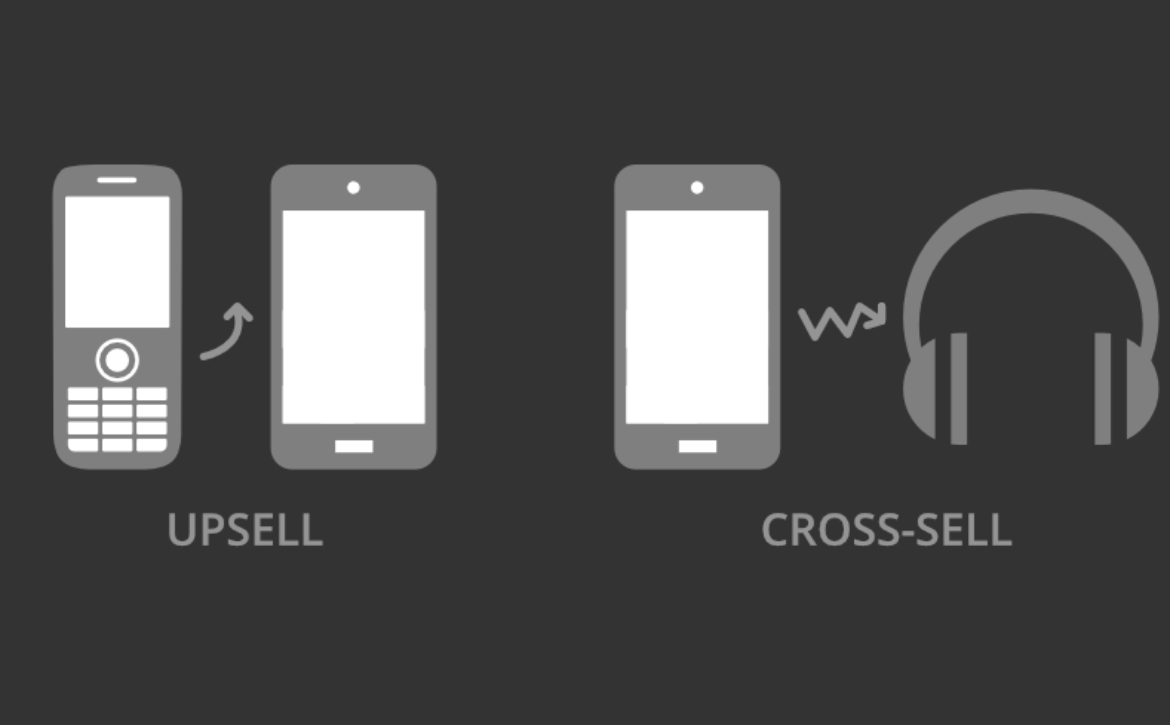
Cross Sell – Selling new products of same category. For example you go to buy a burger and restaurant sells you fries as well.
Upsell – Selling higher version of the same product. For example you go to buy a burger but restaurant offers you upgrades like extra cheese etc.
Up-sells are the products that you recommend based on the currently viewed product. They are typically products that are more profitable or better quality or more expensive.
Cross-sells are products that you promote in the cart, based on the current product. They are typically complementary items.
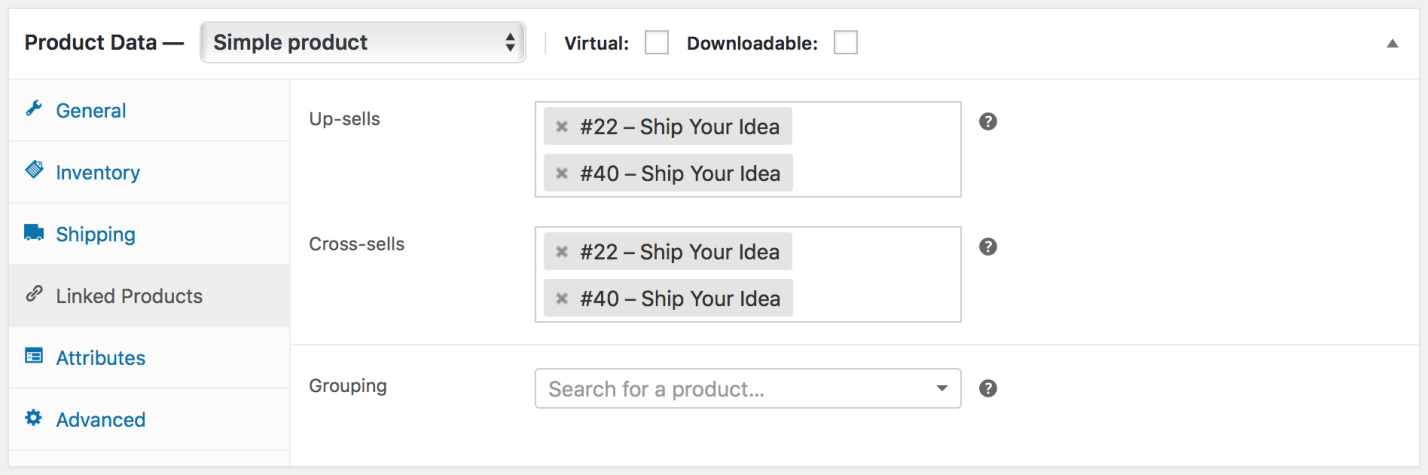
To add an up-sell or cross-sell to a product:
- Go to WooCommerce > Products and select the product on which you’d like to show an up-sell or cross-sell.
- Scroll down to the Product Data panel.
- Select the Linked Products tab in the left menu.
- Add the product you wish to link to by searching for it.
- Update.
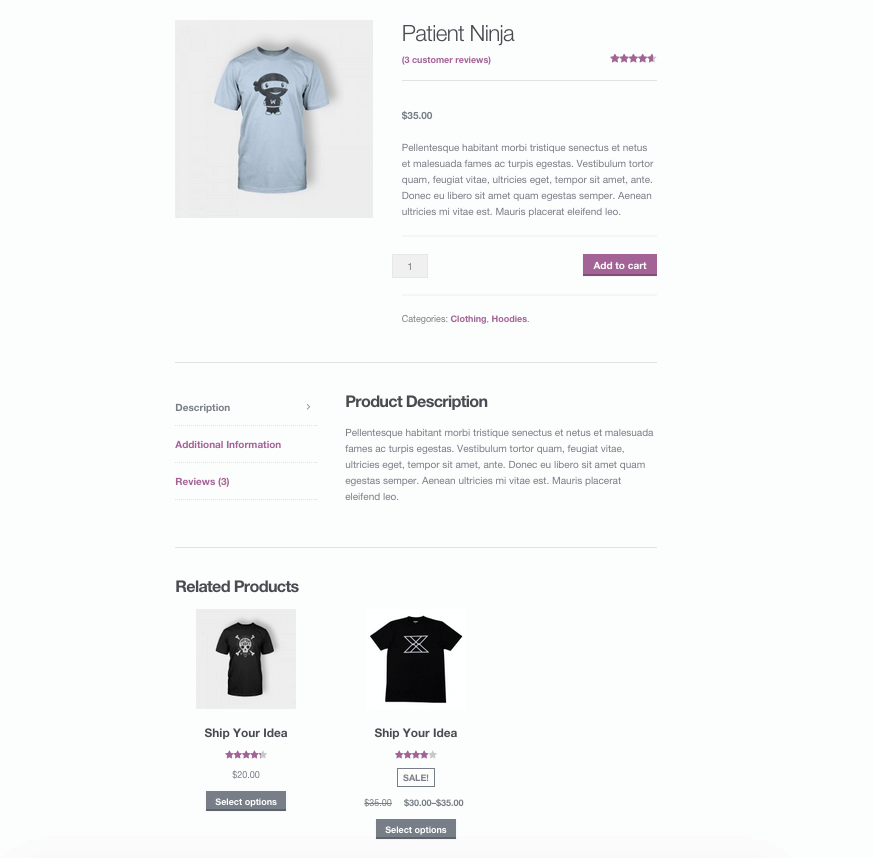
Up-Sells
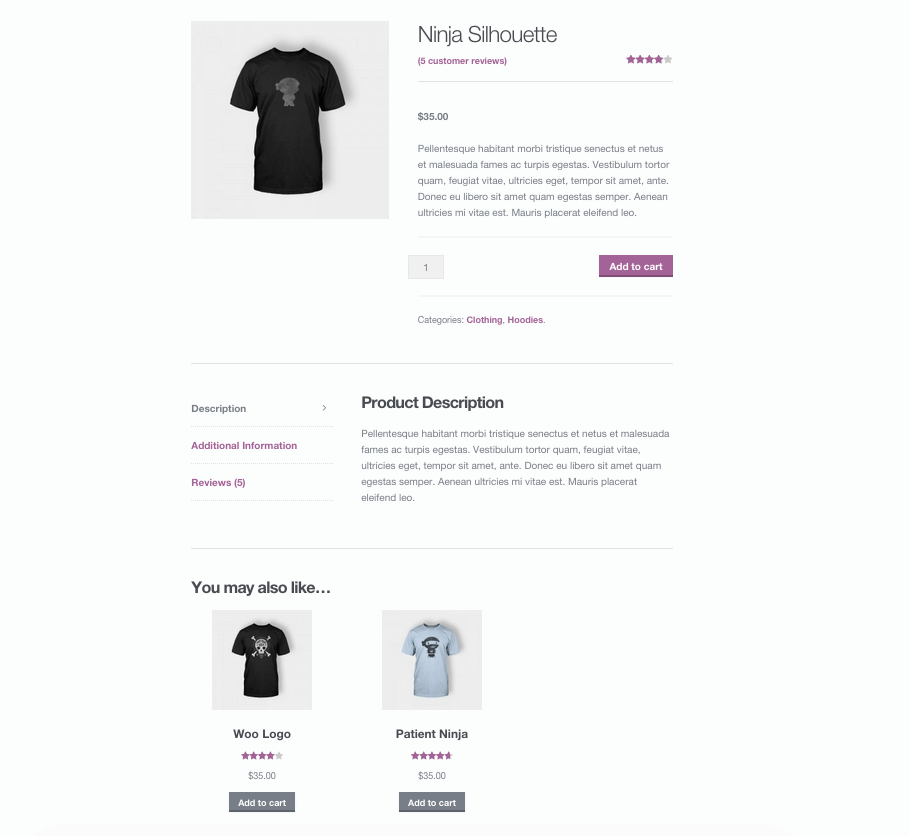
Up-sells are products that you recommend instead of the currently viewed product.
They are typically products that are more profitable or better quality or more expensive. Depending on your theme template, these products display on the single product page underneath the product’s description.
Up-sells (user defined) show on the product page.
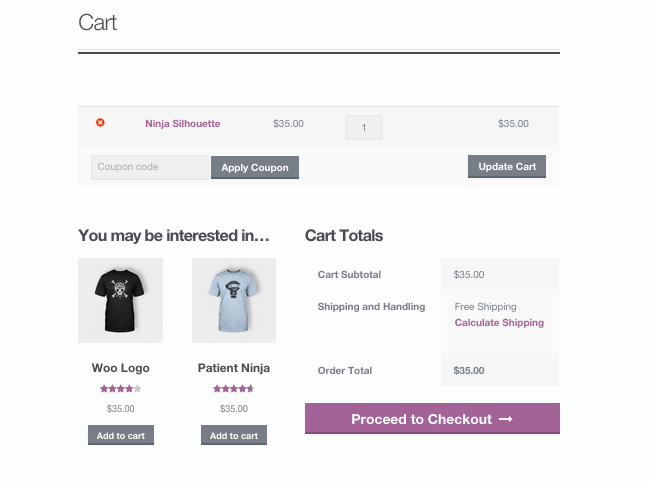
Cross-Sells
Cross-sells are products that you promote in the cart, based on the current product.
They are typically complementary items. For example, if you are selling a laptop, cross-sells might be a protective case or stickers or a special adapter. Or if you’re selling a ninja t-shirt, they could be a ninja hoodie and ninja socks.
Depending on your theme template, they display on the cart page underneath the cart products table with a thumbnail image.
- Cross-sells (user defined) show on the cart page.
Related Products
Related Products is a section on some templates that pulls products from your store that share the same tags or categories as the current product.
These products cannot be specified in the admin, but can be influenced by grouping similar products in the same category or by using the same tags.
- Related products (automatic) also show on the product page.
By using plugin – Boost Sales (https://wordpress.org/plugins/woo-boost-sales/)
Boost Sales for WooCommerce is a WooCommerce extension that helps you increase the revenue of every single order by suggesting Up-selling and Cross-selling products to customers. Through these sales strategies, you’re presenting the customer with something that will improve their purchase and, consequently their lives. The ease of shopping the methods provides to them by the valuable add-ons or upgrade recommendations waiting for them, helps in building trust with the customer base.
Up-Sell Features WooCommerce offers in Basic Version
- The up-sell feature helps you to offer related product when customers add a product to the cart by displaying an up-sell pop-up.
- Whenever a product is added to cart, the plugin will display an up-sell. The pop-up display related product which you recommend customer to buy with the product which just added to cart.
- The owner can select the up-sell products of each product in the plugin’s backend.
- In cases where there are numerous products, the owner can use the up-sell products in the same categories option. The plugin will display product same categories with the product just has been added to cart in up-sell pop-up.
Cross-Sell Features WooCommerce offers in Basic Version
- The cross-sell feature helps you to offer customers to buy a bundle product with a better price instead of buying single products.
- One can create cross-sell bundles by selecting products and set a sale price.
- The cross-sell pop-up appears on the corner single product page. Offer customers the bundle with information about products, original price, sale price and how much customers can save.
Premium Up-Sell Feature of WooCommerce Boos Sales Plugin
- Allows you to add up-sell for multiple products at once.
- The plugin will list up-sell products which you listed in WooCommerce to display.
- This option allows you to hide the up-sell pop-up on single product pages. The pop-up will appear only on shop/category pages.
- Hides out of stock products on up-sell pop up automatically.
- The products added in the cart will not be displayed on the up-sell pop-up.
- Automatically redirects the customer to cart page when an up-sell product is added to cart.
- The plugin will automatically display recent viewed product on up-sell product.
- With the displays product in the lowest subcategory level on up-sell pop-up. It shows when “Up-sell product in same categories” is enabled.
- The plugin will not display up-sell pop-up on selected products.
- Allows the owner to select the order of up-sell products on up-sell pop-up, by price, name and other categories.
- One can select to display the view more button on up-sell product. The button allows the customer to go up-sell product page.
- The plugin works with AJAX to add to cart button of WooCommerce, which increases loading time speed.
- AJAX adds up-sell products to cart, the pages will not be reloaded.
Premium Cross-Sell Feature of WooCommerce Boos Sales Plugin
- The cross-sell bundle will be displayed in products instead of a pop-up. You can choose to display under add to cart button, above description tab, under the description tab.
- Choose if you want to display the cross-sell on the single product page.
- Choose if you want to display the cross-sell on the cart page.
- Choose if you want to display the cross-sell on the checkout page.
- Change the description of the cross-sell bundle.
- Change the cross-sell bundle name.
- When the cross-sell bundle is added to cart, the cross-sell product will be removed.
- Add the bundle to cart without reloading the page.
- If a product in the bundle is out-of-stock, the bundle will not be displayed.
- Set price rules, then the plugin will automatically calculate the bundle price.
Discount Features for Effective Upsell and Cross-Sell
- The discount bar helps you to make the customer pay more by offering them a discount. By selecting a coupon with a minimum spend requires. The plugin will display on front-end how much customers have added to cart. And how much they need to spend more to receive a discount.
- Select a coupon code which you want to use as the prize of the discount bar.
- Inform customers as they receive a discount if they spend and reach the minimum amount.
Note : This post first appeared on our E-Commerce Services Business Website at https://commercecodes.com/how-to-upsell-and-cross-sell-on-woocommerce